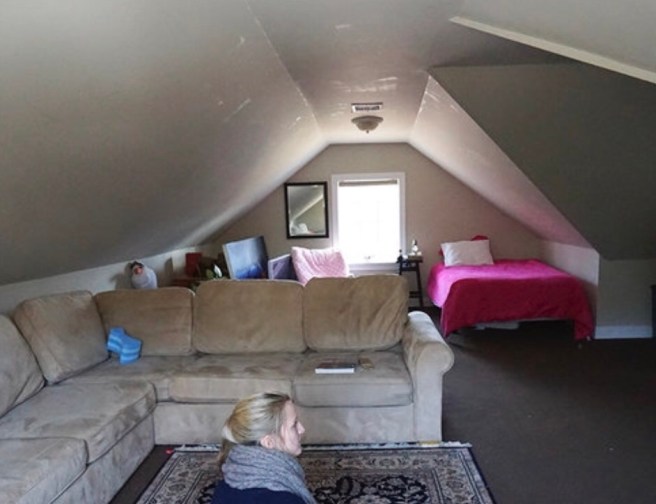
We weren’t working with much. It was a 15’x15′ space, with 6’5″ ceilings that needed to house a bathroom, laundry, utility closet and with whatever remaining space we could eek out, a kids playroom.
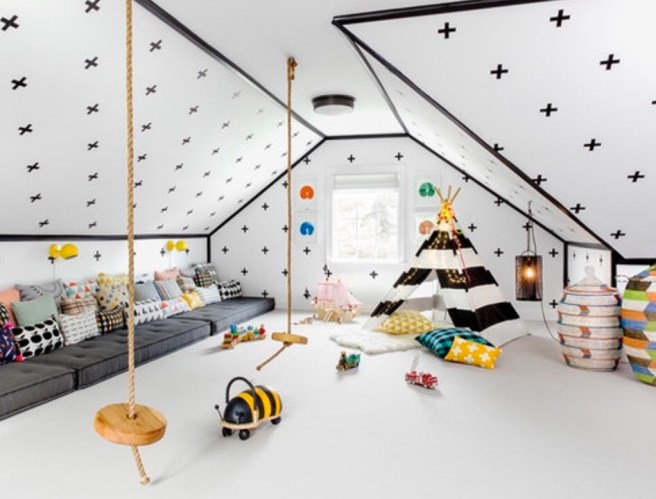
I had visions in my head of a true play space, with a swing anchored to the ceiling, and maybe even a climbing wall. Images like this amazing attic kids room from the talented Chango & Co would always catch my eye. I love a bit of whimsy in a house.
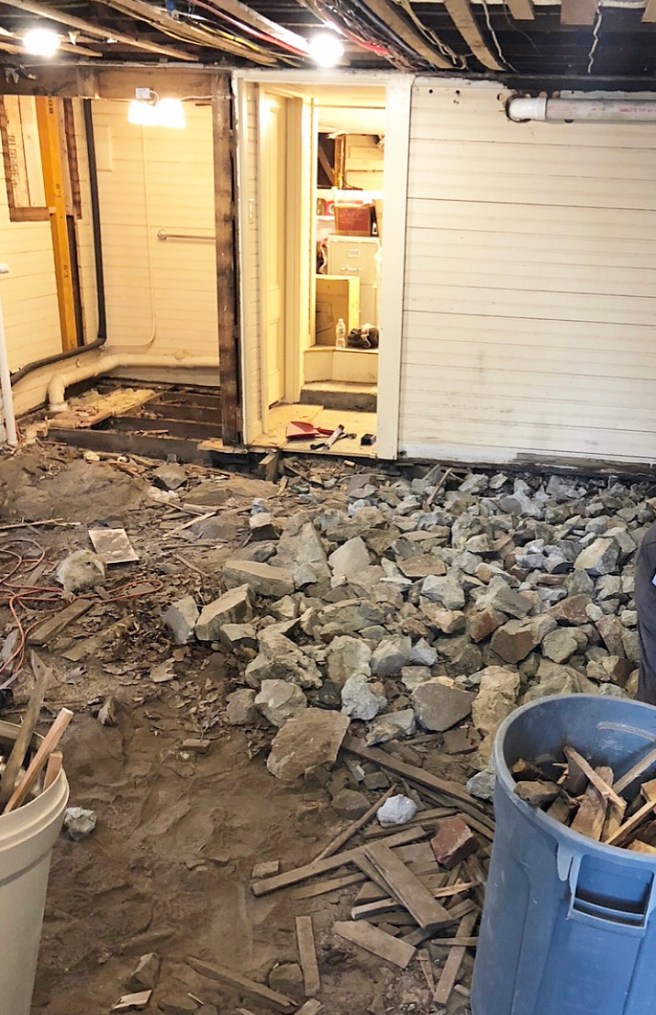
By the way, check out the “before” photo. Isn’t it amazing how a space can be transformed?
And wouldn’t a climbing wall be fun for kids to expel energy? Maybe something like this from The Created Home blog:

To begin, I sketched a floor plan to scale using graph paper. After playing around with various iterations we settled on this layout:
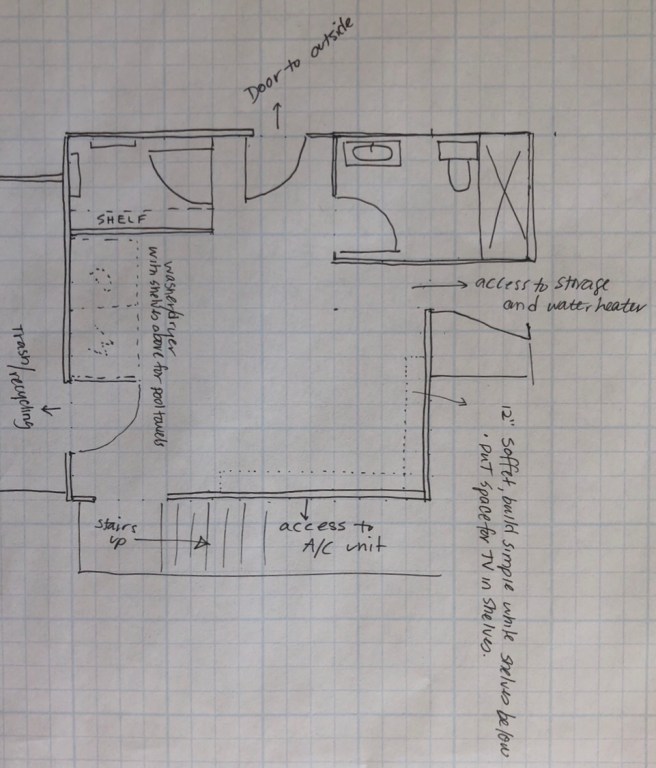
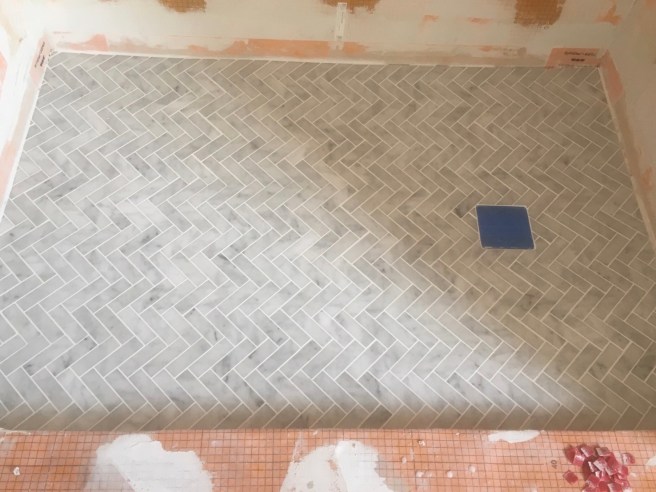
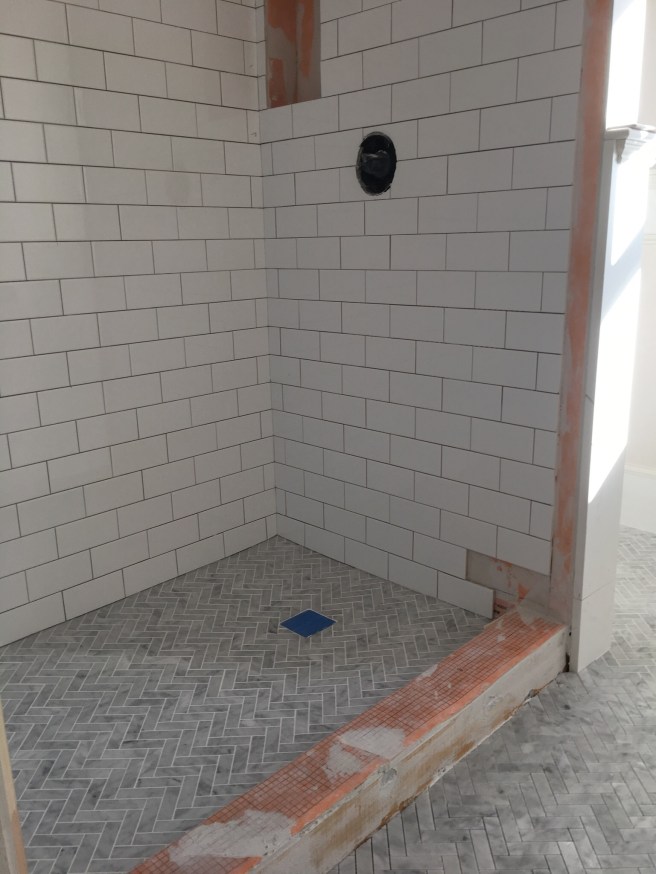
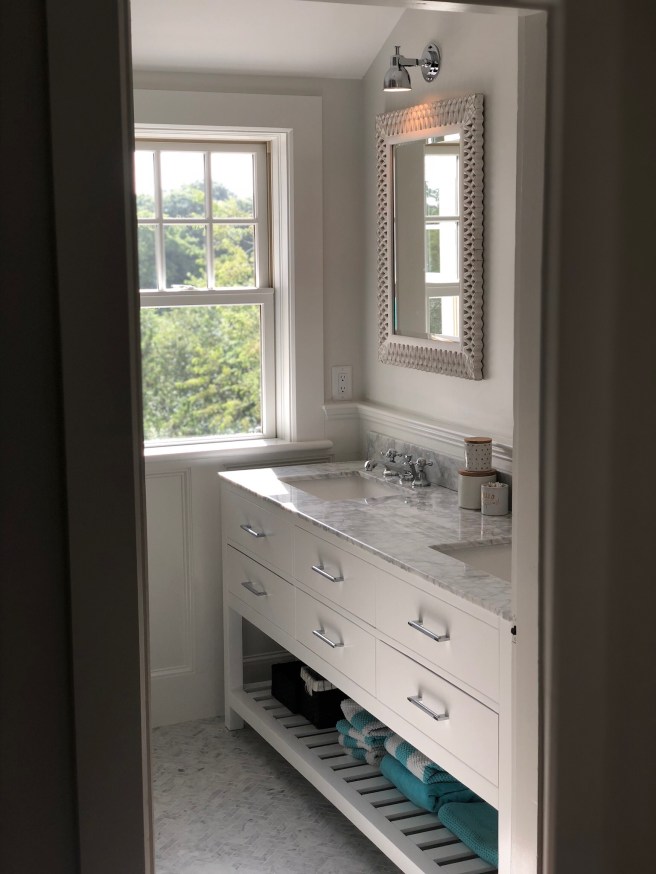
We ultimately decided to scrap the shower in the bathroom (this will be mostly used for guests running in from the back deck and pool, and we have an outdoor shower that we installed last summer). Instead, we moved the washer/dryer into the bathroom to free up more space for kid play.
Instead of recessed lights, I wanted to use sconces. I do not like recessed lights – after doing two home renovations now, and trying to find the warmest, smallest LED recessed lights, I’ve realized they are truly not for me. If we ever renovate another house I vow to use them more sparingly (or not at all). The warmer, eye level ambient light of a sconce is much more comforting.
Here is the lighting plan I (very) roughly sketched for the electrician:

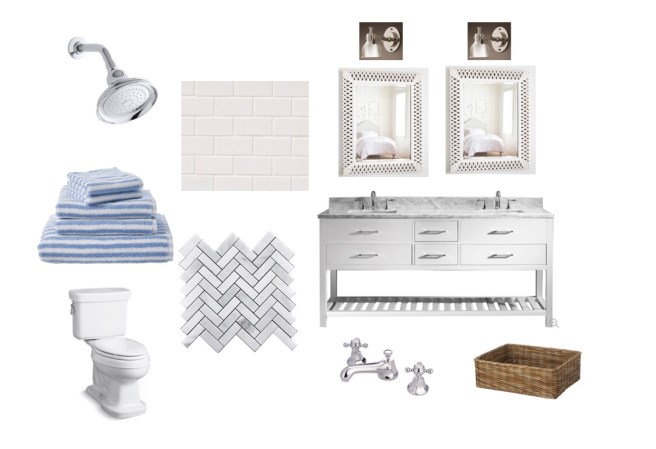
Next up – the fun part – the idea board. We knew we wanted tongue and groove, light bright white walls, and blue rug. Some dark contrast (I find that with a neutral space, some dark contrast is really necessary to help the space pop). And a pop of color. Here she is:
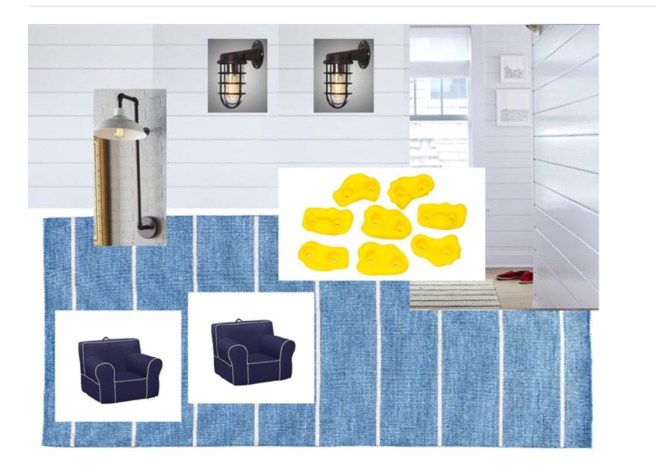
1. Industrial Pipe Wall Sconce
4. Wool rug
We ended up doing a wall to wall carpet in poly material instead of an area rug in order to make it as comfortable as possible down there (and also durable – poly indoor outdoor), but we own the above rug and love it. Amazing price for 10×14′ 100% wool.
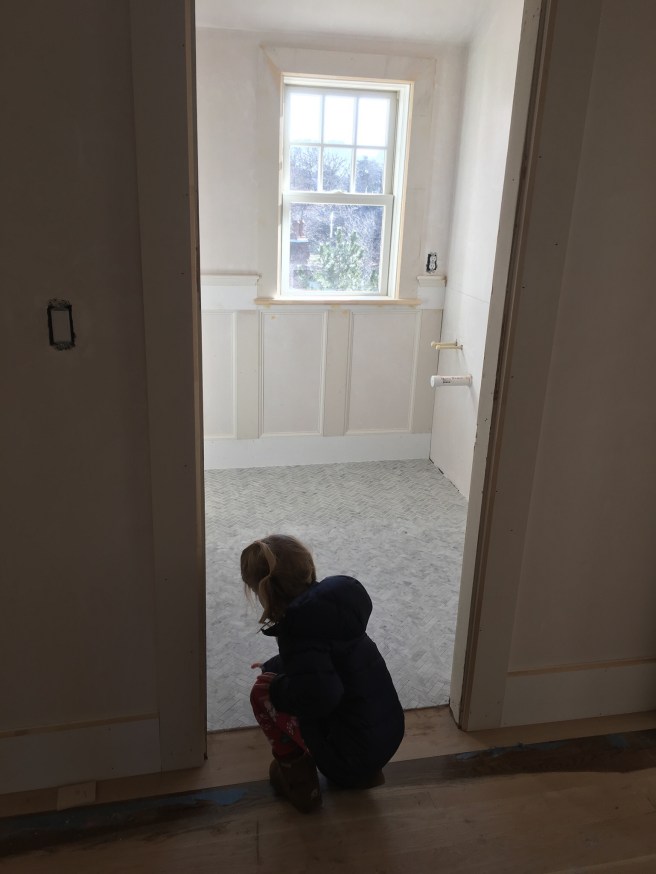
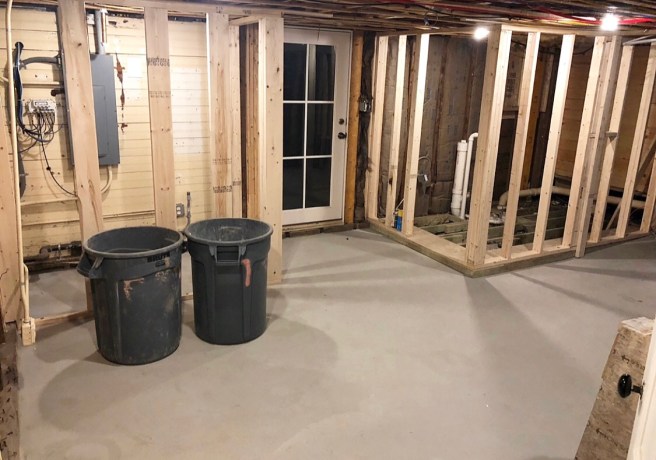
Here are some progress shots. Starting with the literal rubble we began with.
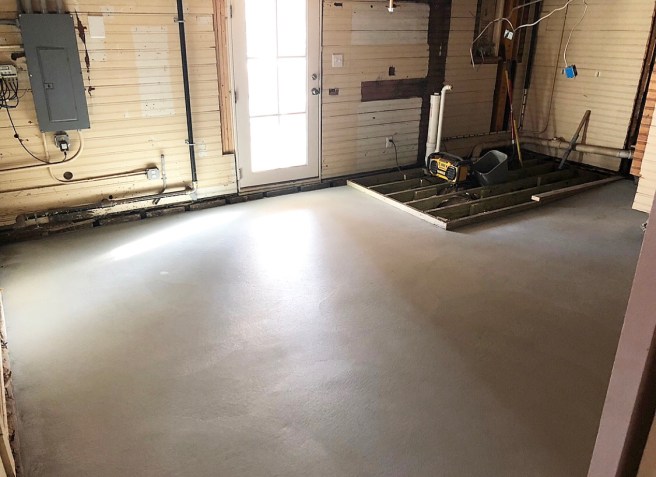
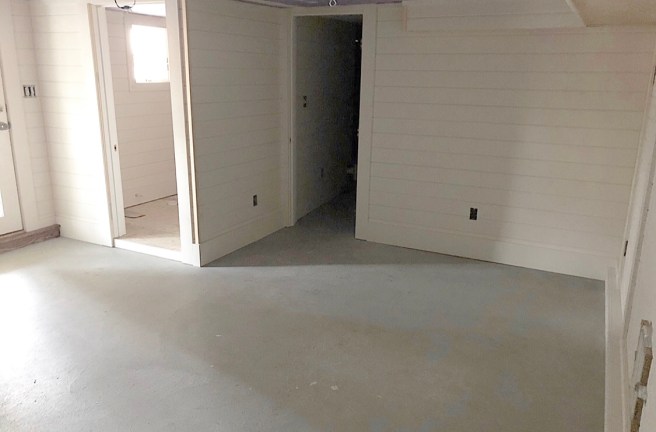
Concrete slab poured. We were able to dig down about 5″ to get the ceilings to nearly 7′ tall. It is miraculous the difference that extra 5 inches makes.
Framing. You can start to really feel the space!
Finish work – Tongue and Groove!
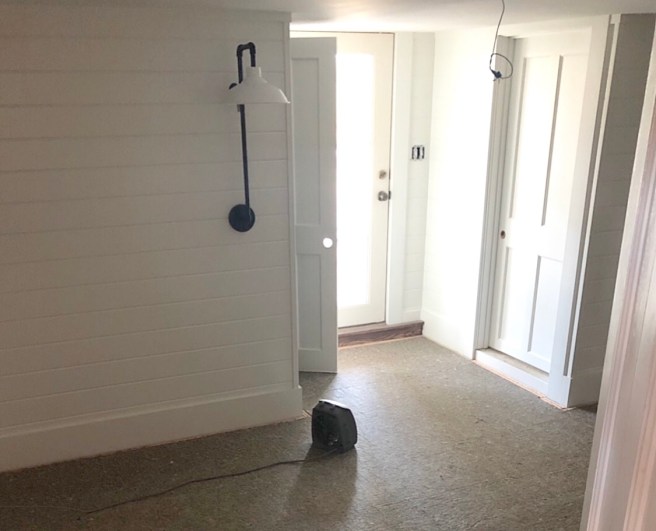
Doors in, sconce installed, rug pad down, walls painted:
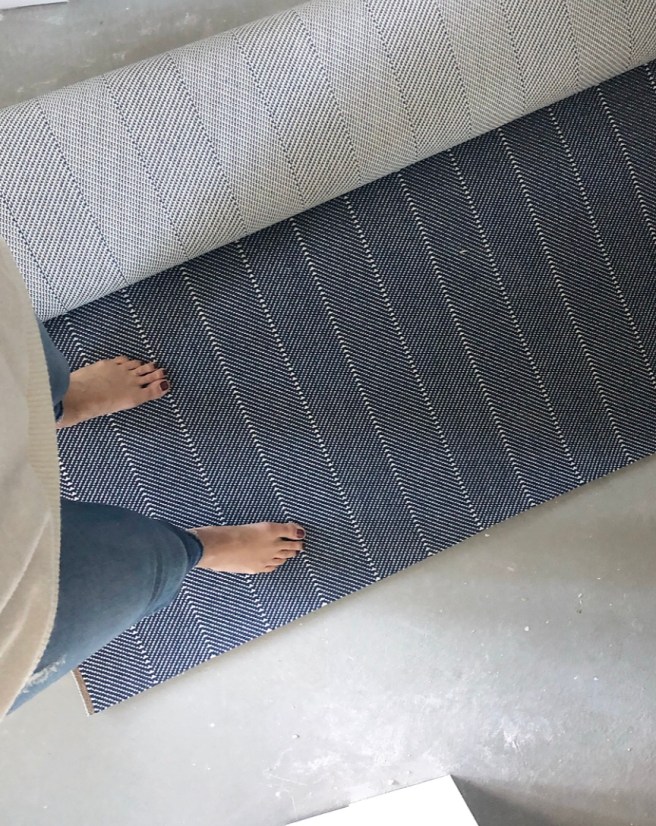
And….Rug!
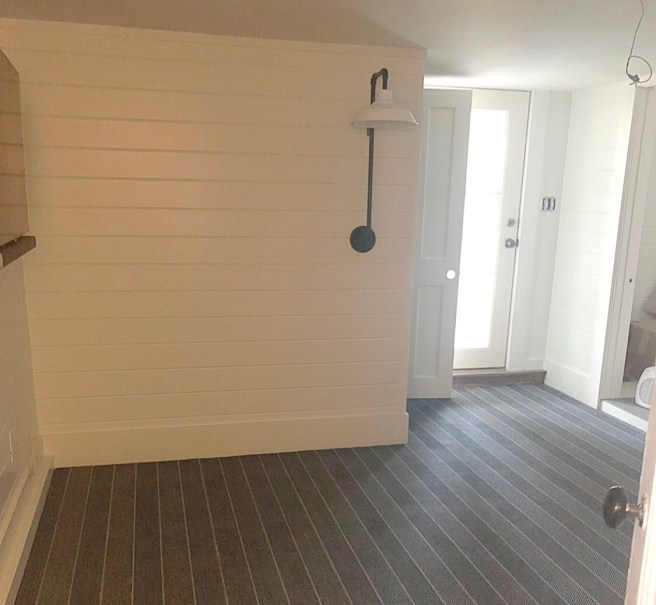
I cannot speak highly enough of this rug, I love it. Looks sharp, feels soft, and is easy to wash down.
Here is a close up before install, as well as a look down the stairs:

Next up…toy storage, climbing wall, swing, and rope ladder. Stay tuned!